Sony’s DualShock 4 controller is, in my opinion, the best-feeling controller in the history of ever, but it’s not perfect: Sony put cheap, crappy thumbsticks on it, and the covering on those thumbsticks frequently peels off in short order. Sony will replace the controller if you have this issue, but YOU pay for shipping, it takes over a month, and they won’t even talk to you unless you can prove that you’re the original owner. Way to fail, Sony. I had a half-dozen of these to repair for the shop, so I figured I’d document the last one for you.


You can get replacement thumbsticks on eBay or Amazon. I’m actually using aftermarket joysticks meant for the Xbox One that work great on the PS4. I’m using these because I like them a lot more than the factory sticks, and because I kinda had 50 of them on hand already.

To start, unscrew the four Philips screws on the back. You’ll need a small driver. Many manufacturers like to hide screws behind stickers, but Sony, bless them, put all four where you can see them.

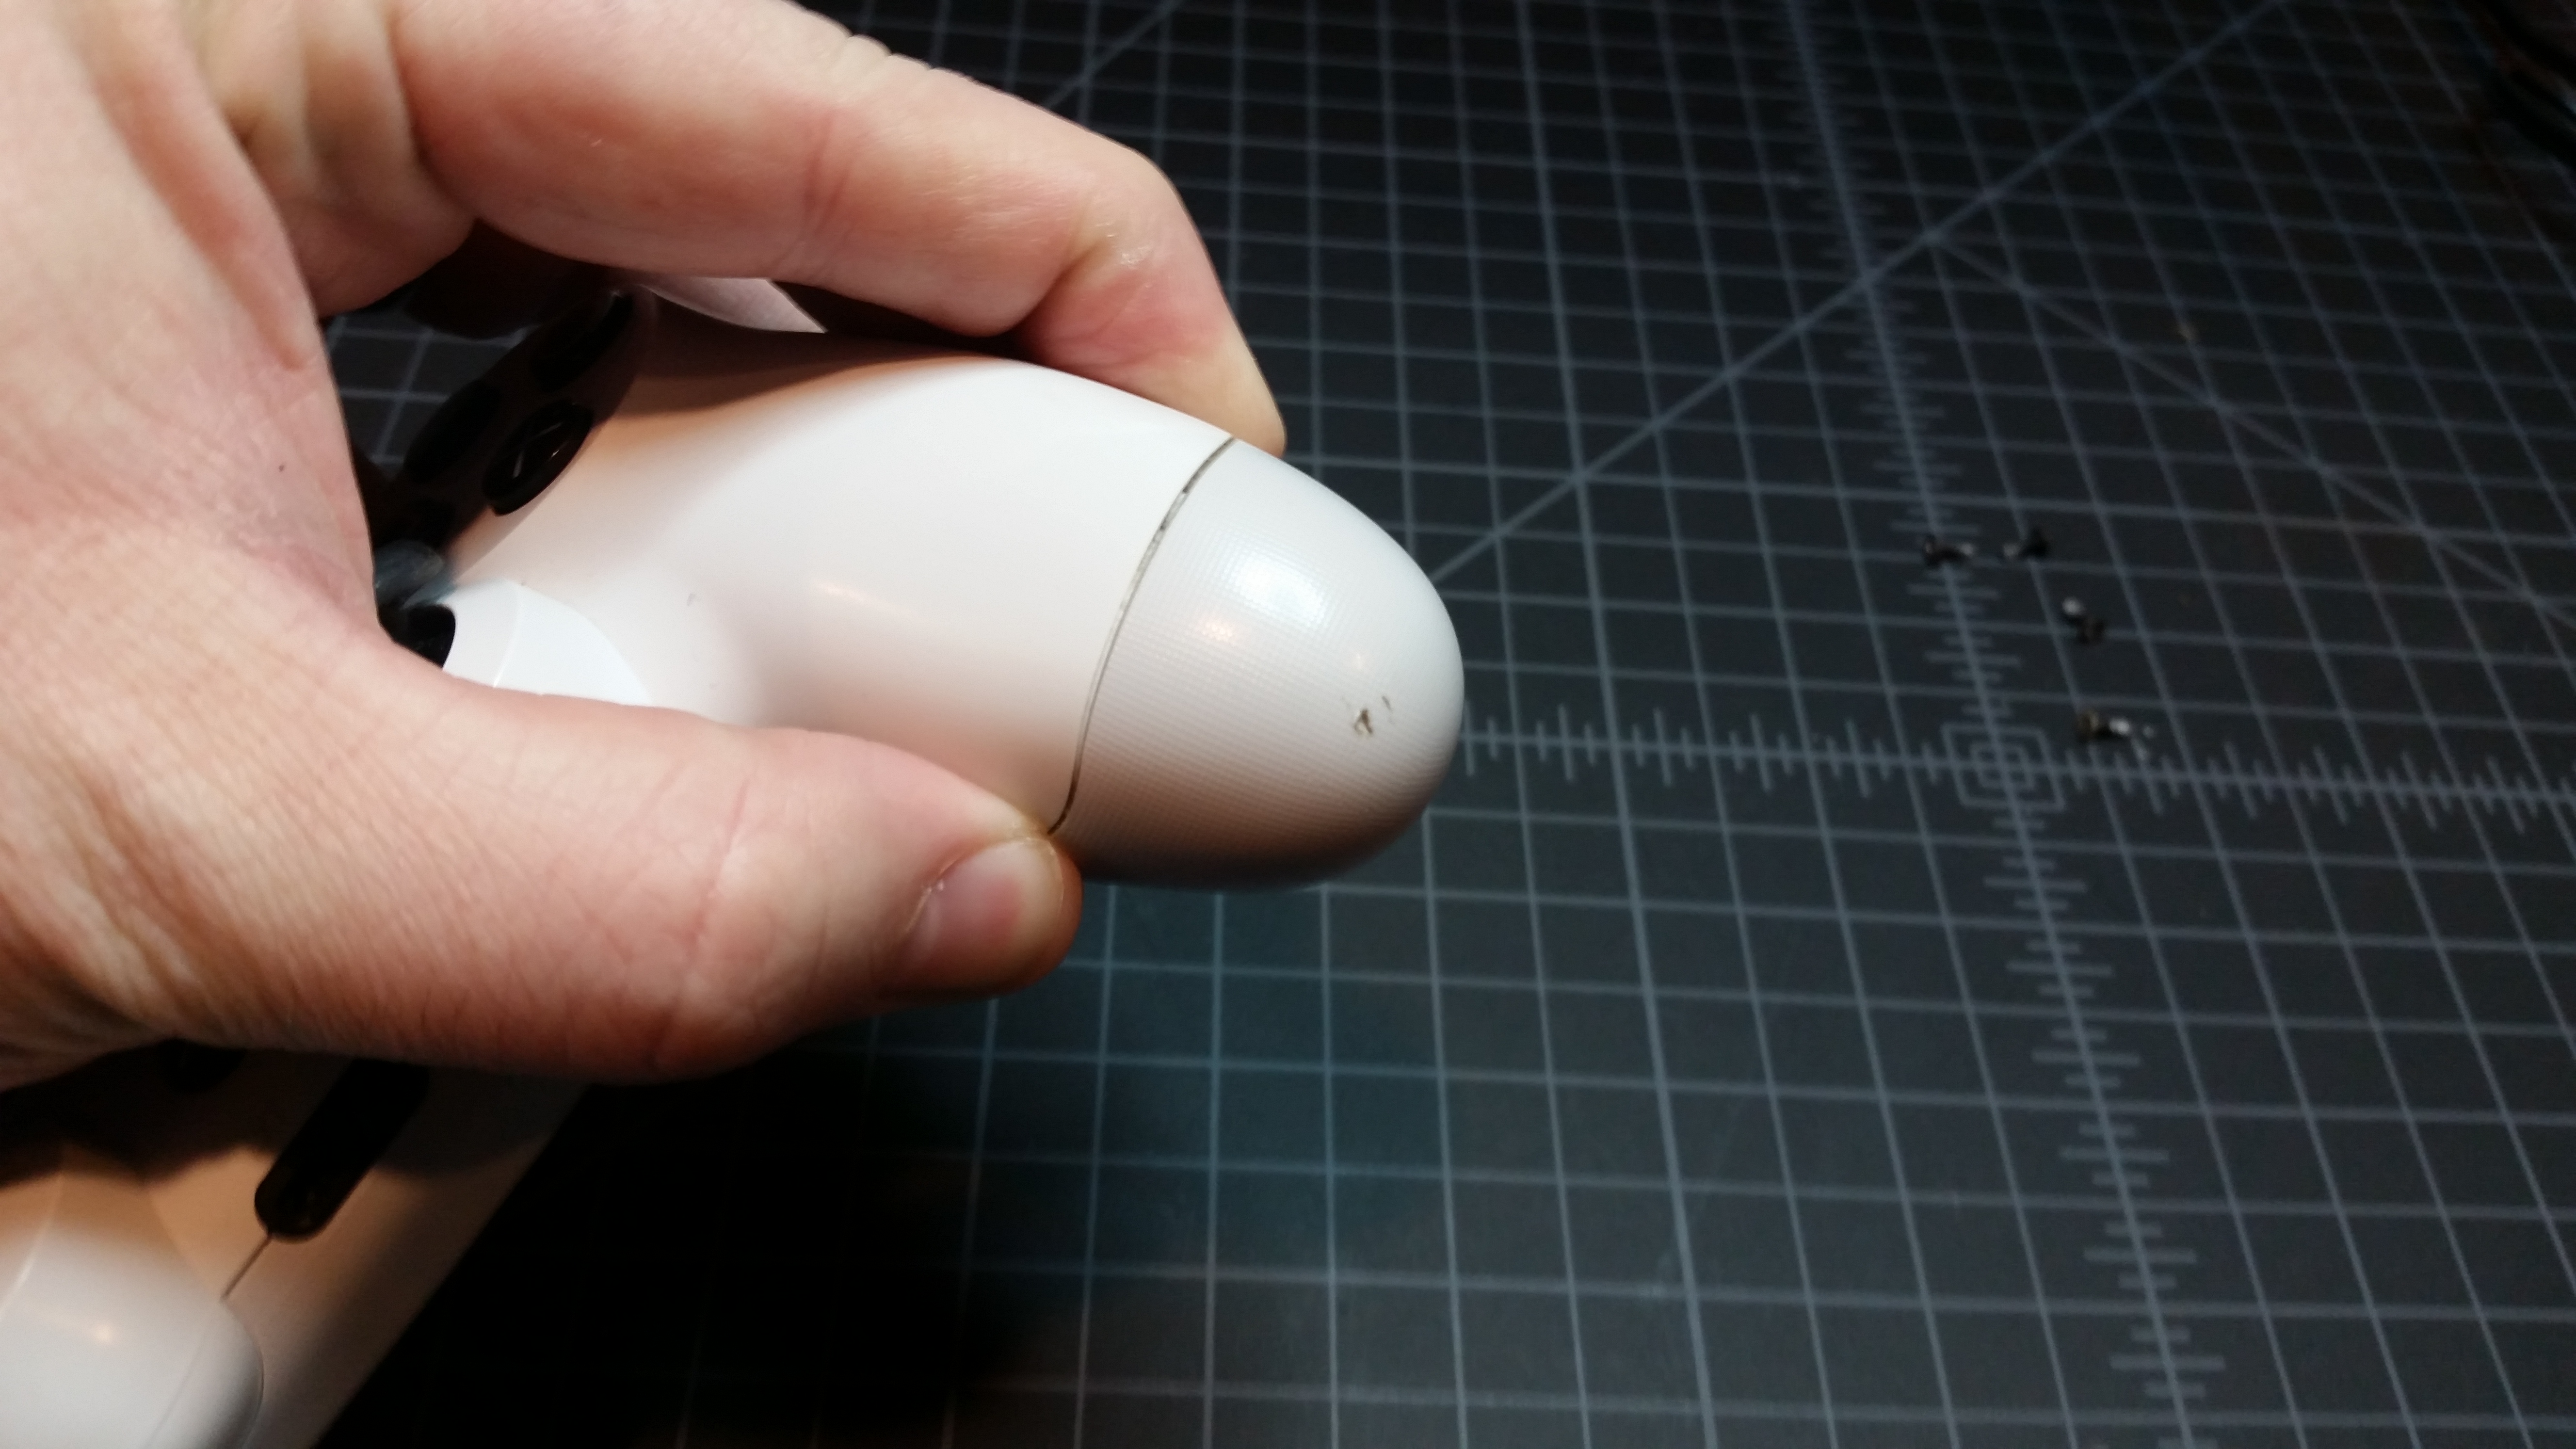
This is the worst part of the repair. Once those screws are out, you have to separate the two halves of the controller body. You start this by squeezing on the joint like this:
Then you pull on alternating sides of the controller until it comes loose, usually with a loud snap that makes you think you’ve broken something. While you’re doing this, watch for a little round rubber piece which may or may not fall out. You’ll need it at the end, so be mindful.

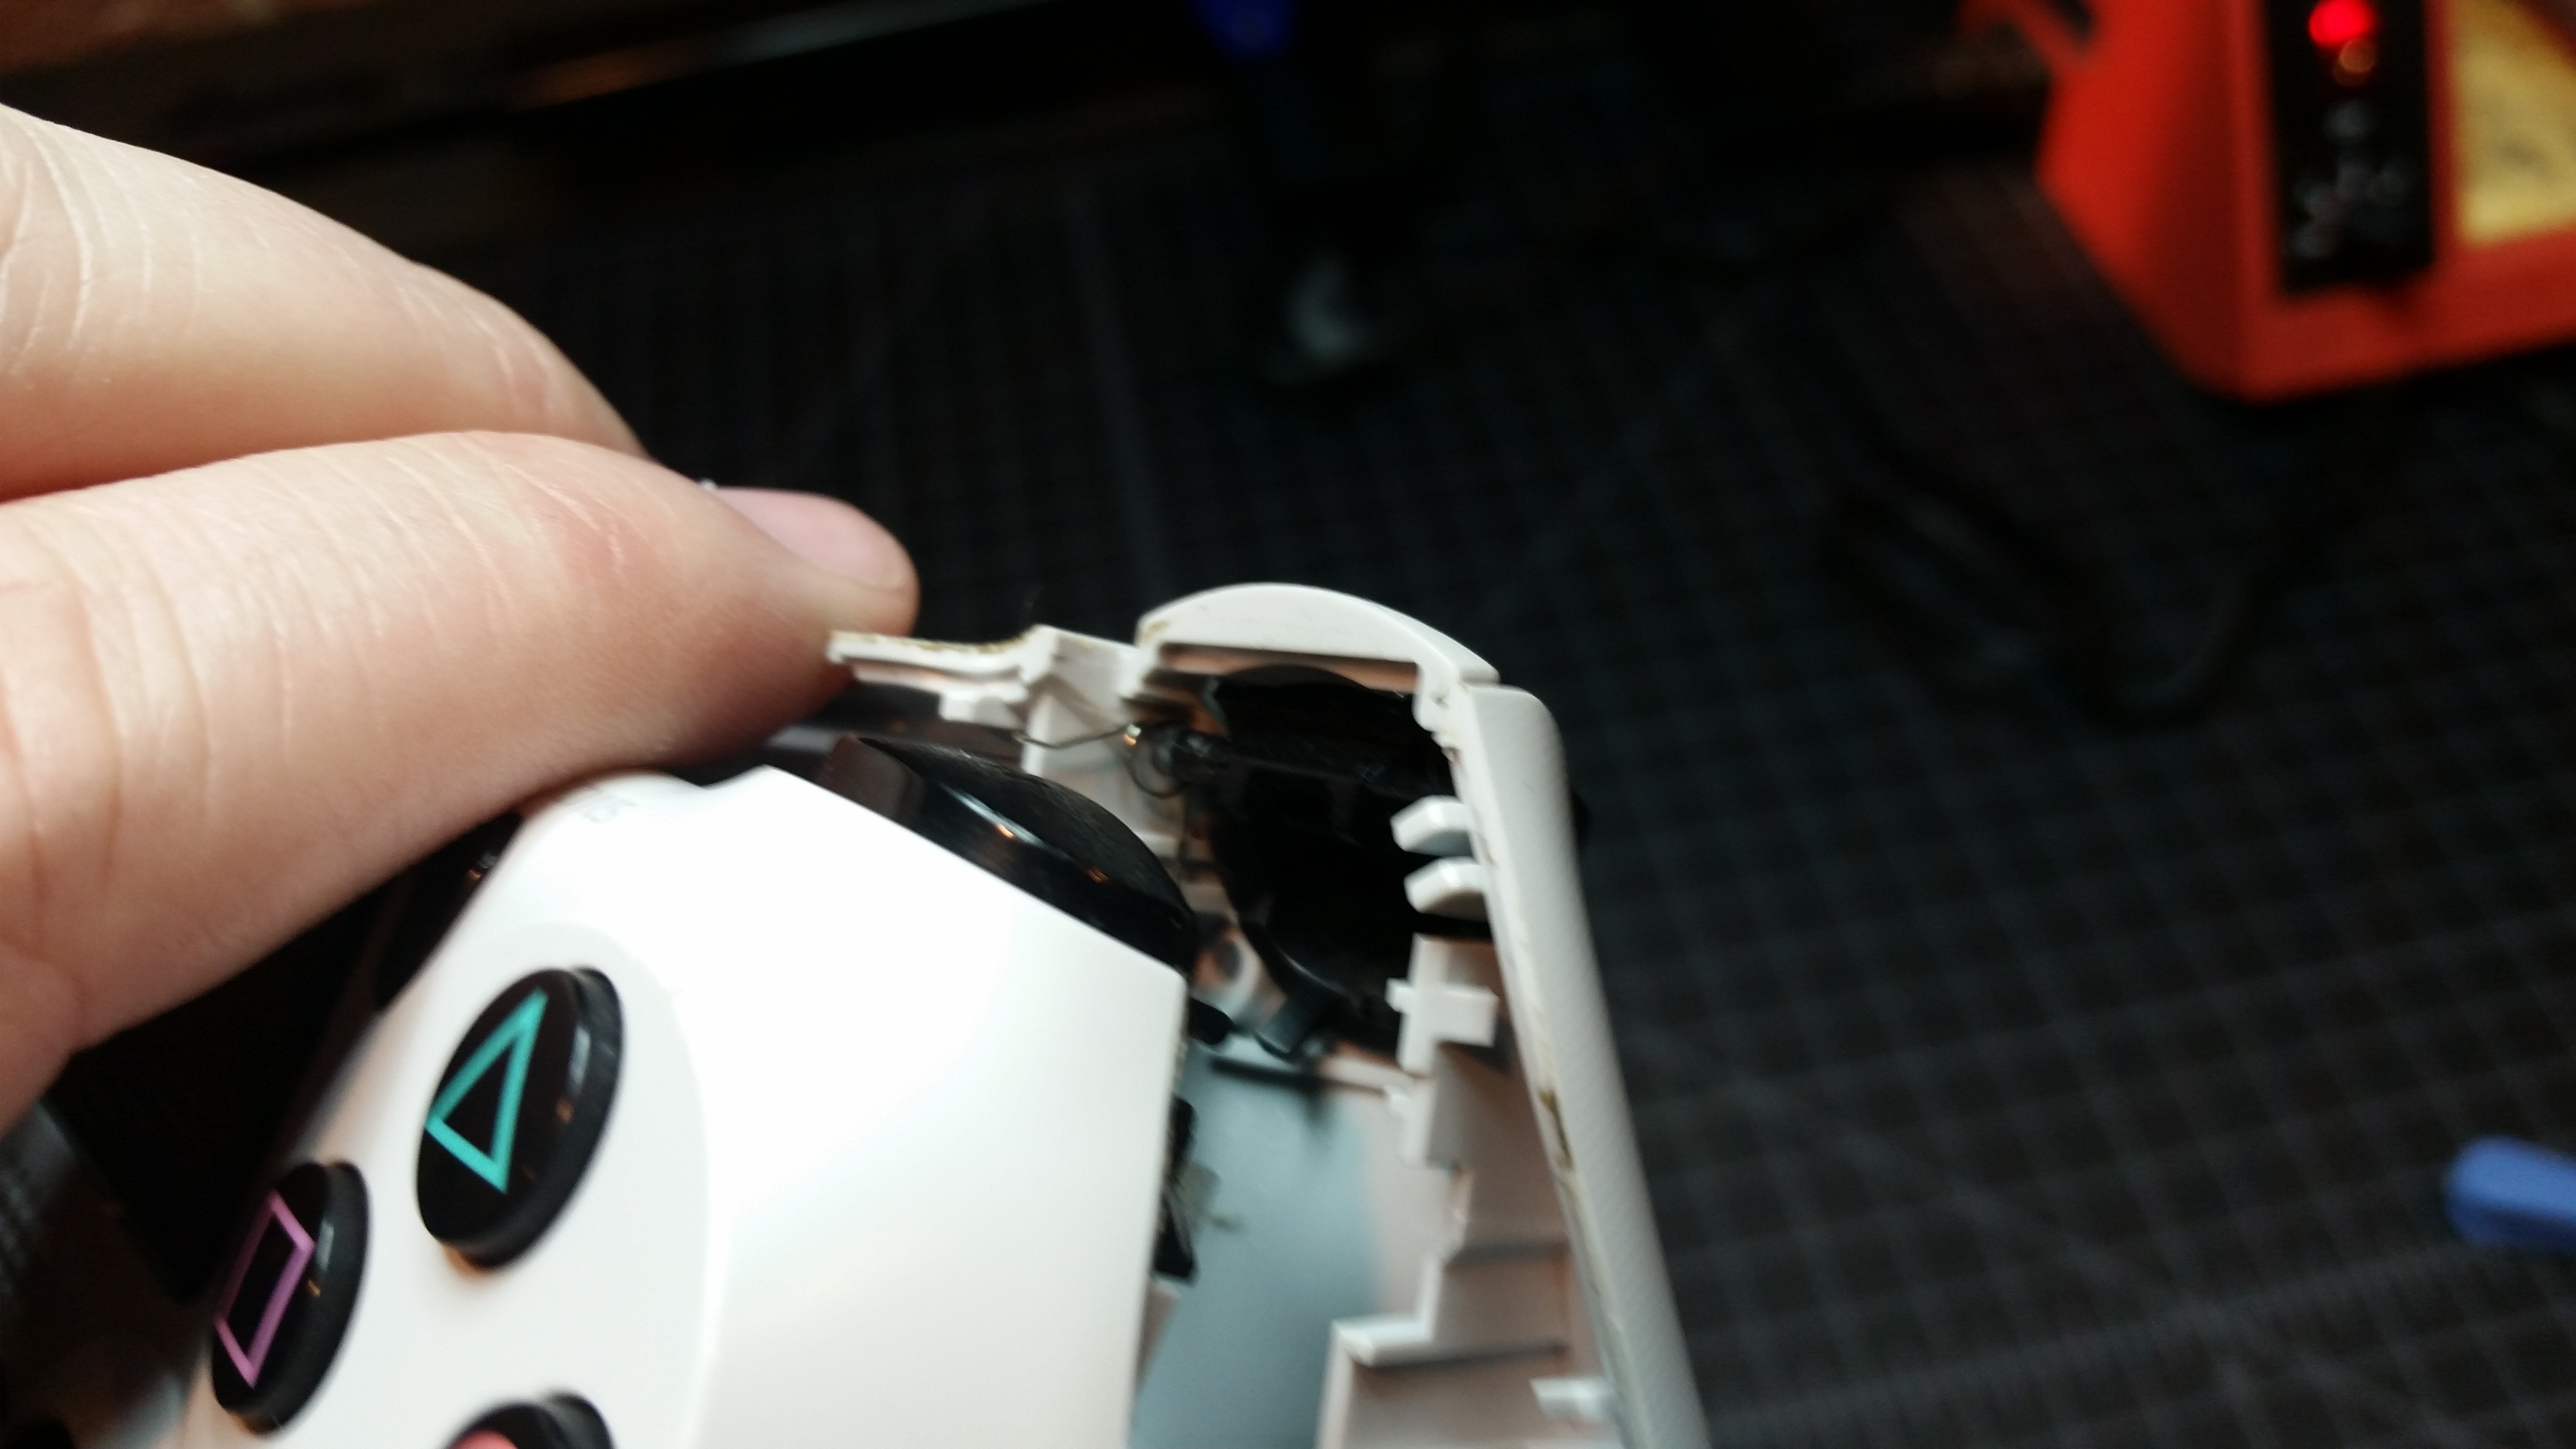
Uh-oh. On the first five controllers I repaired, all four shoulder buttons stayed attached to the top half of the controller, where they belong. This white controller has some slight differences in design, however, and the trigger buttons popped out of place, going with the bottom half instead of staying with the top. We’ll put those back in place in a minute.
Before you do anything else, you’ll need to pull out this ribbon cable. You can do it with your fingers if they’re small enough, but I used needle-nose pliers. It won’t take much force at all to pull it out.

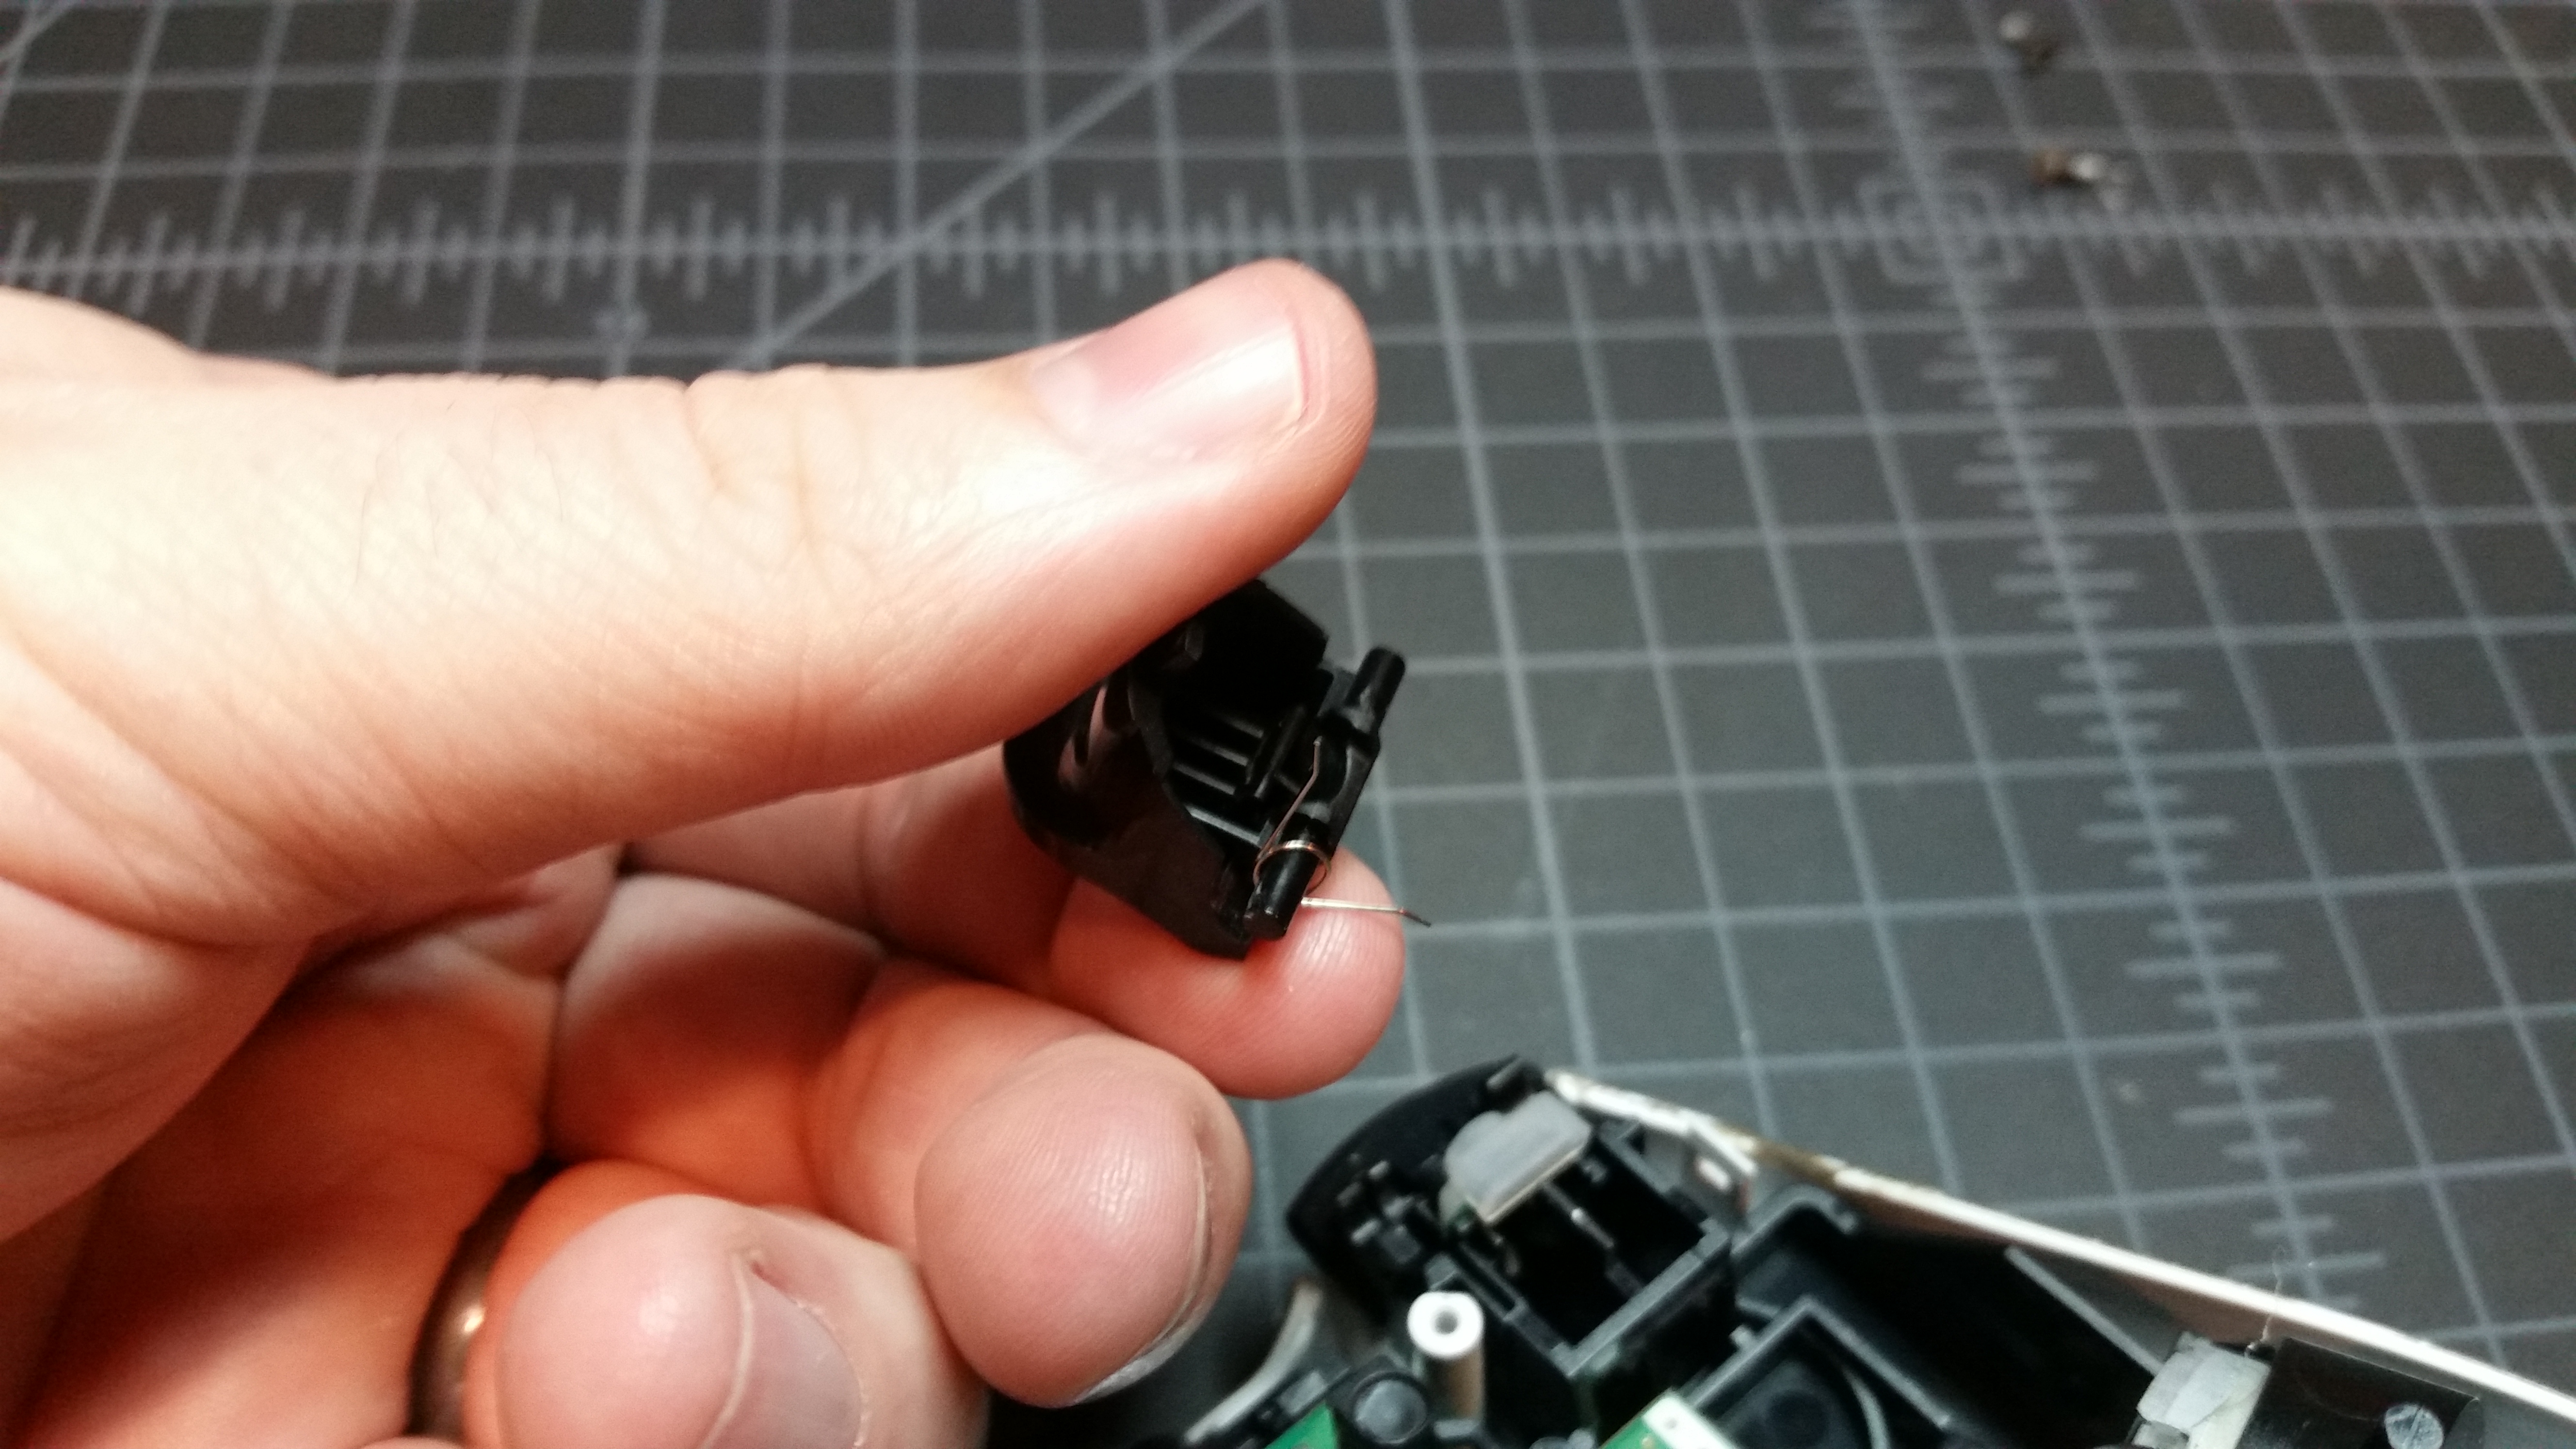
Okay, let’s take a look at the triggers. We have to get those springs on each into the proper position. If you didn’t manage to detach yours, just keep scrolling.

The triggers themselves have a space on the post that faces the USB plug when they’re installed. Hang the spring on it like so, propping up the bottom side with your finger.
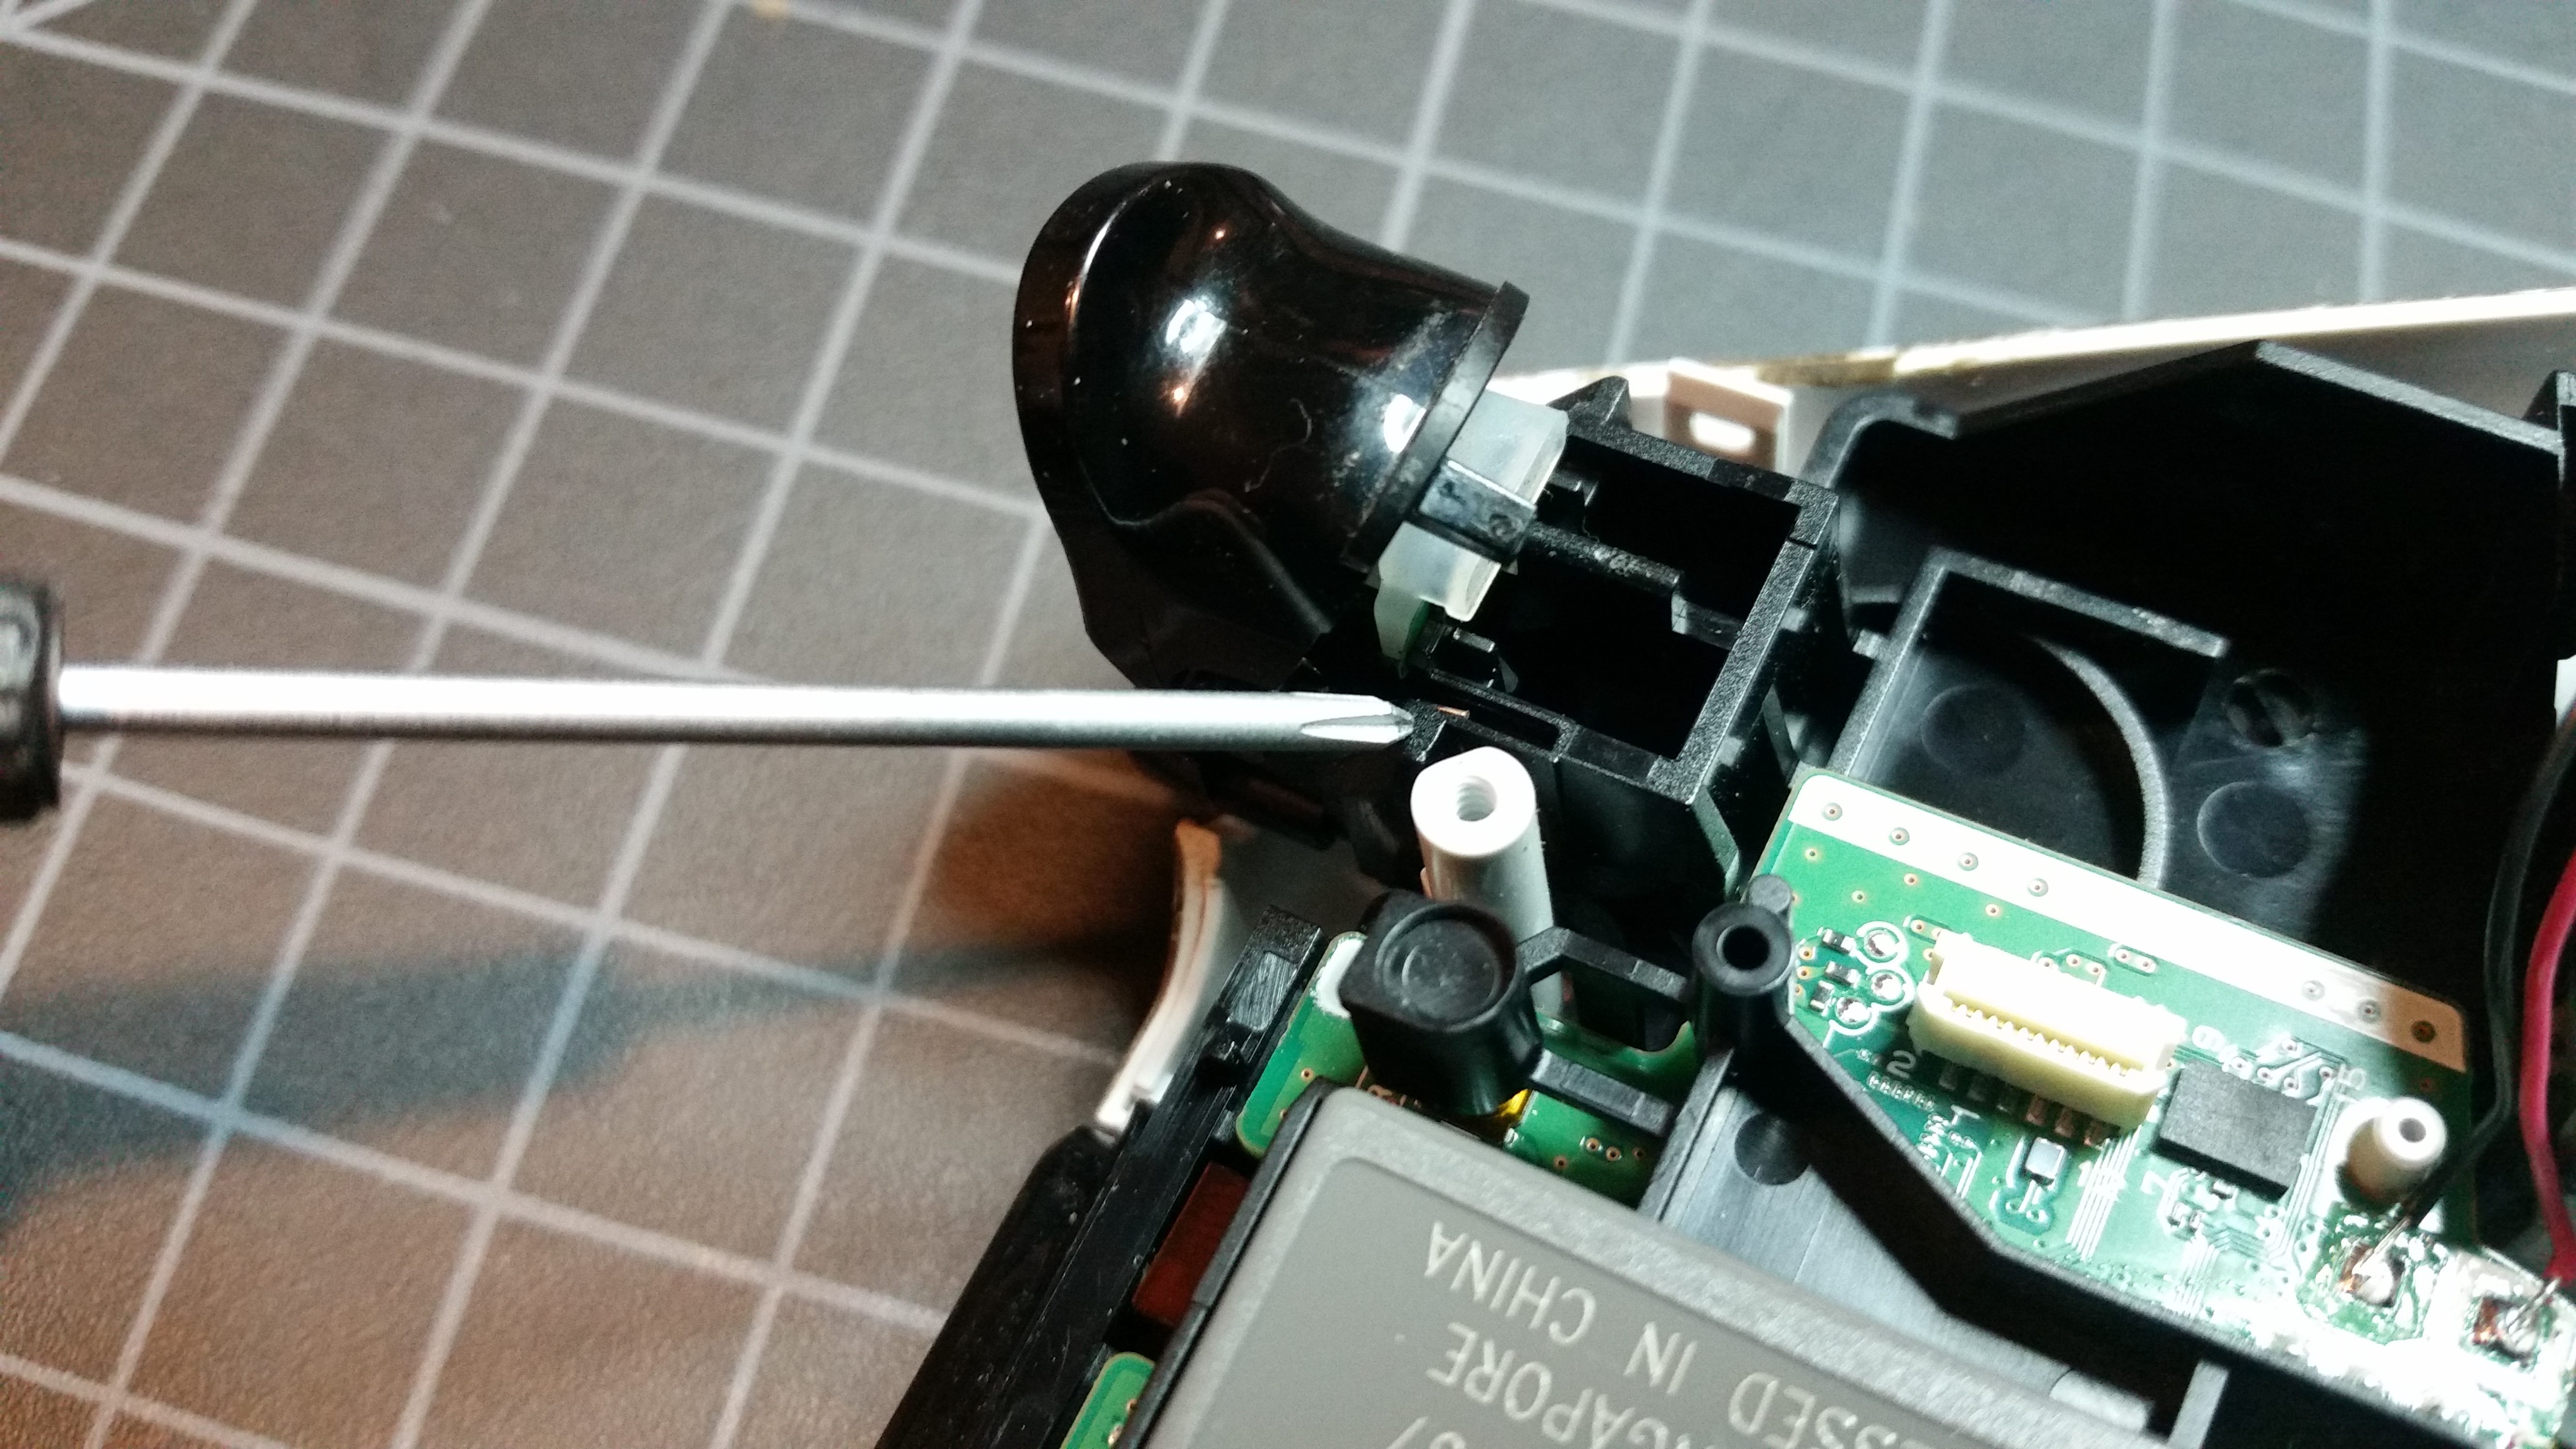
See the little slot I’m indicating with my screwdriver? That’s where the bottom part of that spring should rest. With that in place, snap the trigger downward into place. It should feel correct when you press it, even outside the case.
Pull the battery away carefully, then pinch the battery connector and pull it out of the plug. This reveals the final screw we need to remove, indicated here:

Once that screw is removed, we have another ribbon cable to remove, in the upper-right area of the board.

You can remove this with pliers or tweezers, like so:

Keep the joystick face-down for now unless you want to chase buttons everywhere. With the joystick facing away from you, reach around and press in on the thumbsticks. The board should lift up and away from the shell. You’ll have to maneuver it around a little to get the thumbsticks free of the casing, but once you do that, you should be able to pivot the board toward you, being careful not to pull on the vibrator power leads.

The bad thumbsticks will lift straight off.
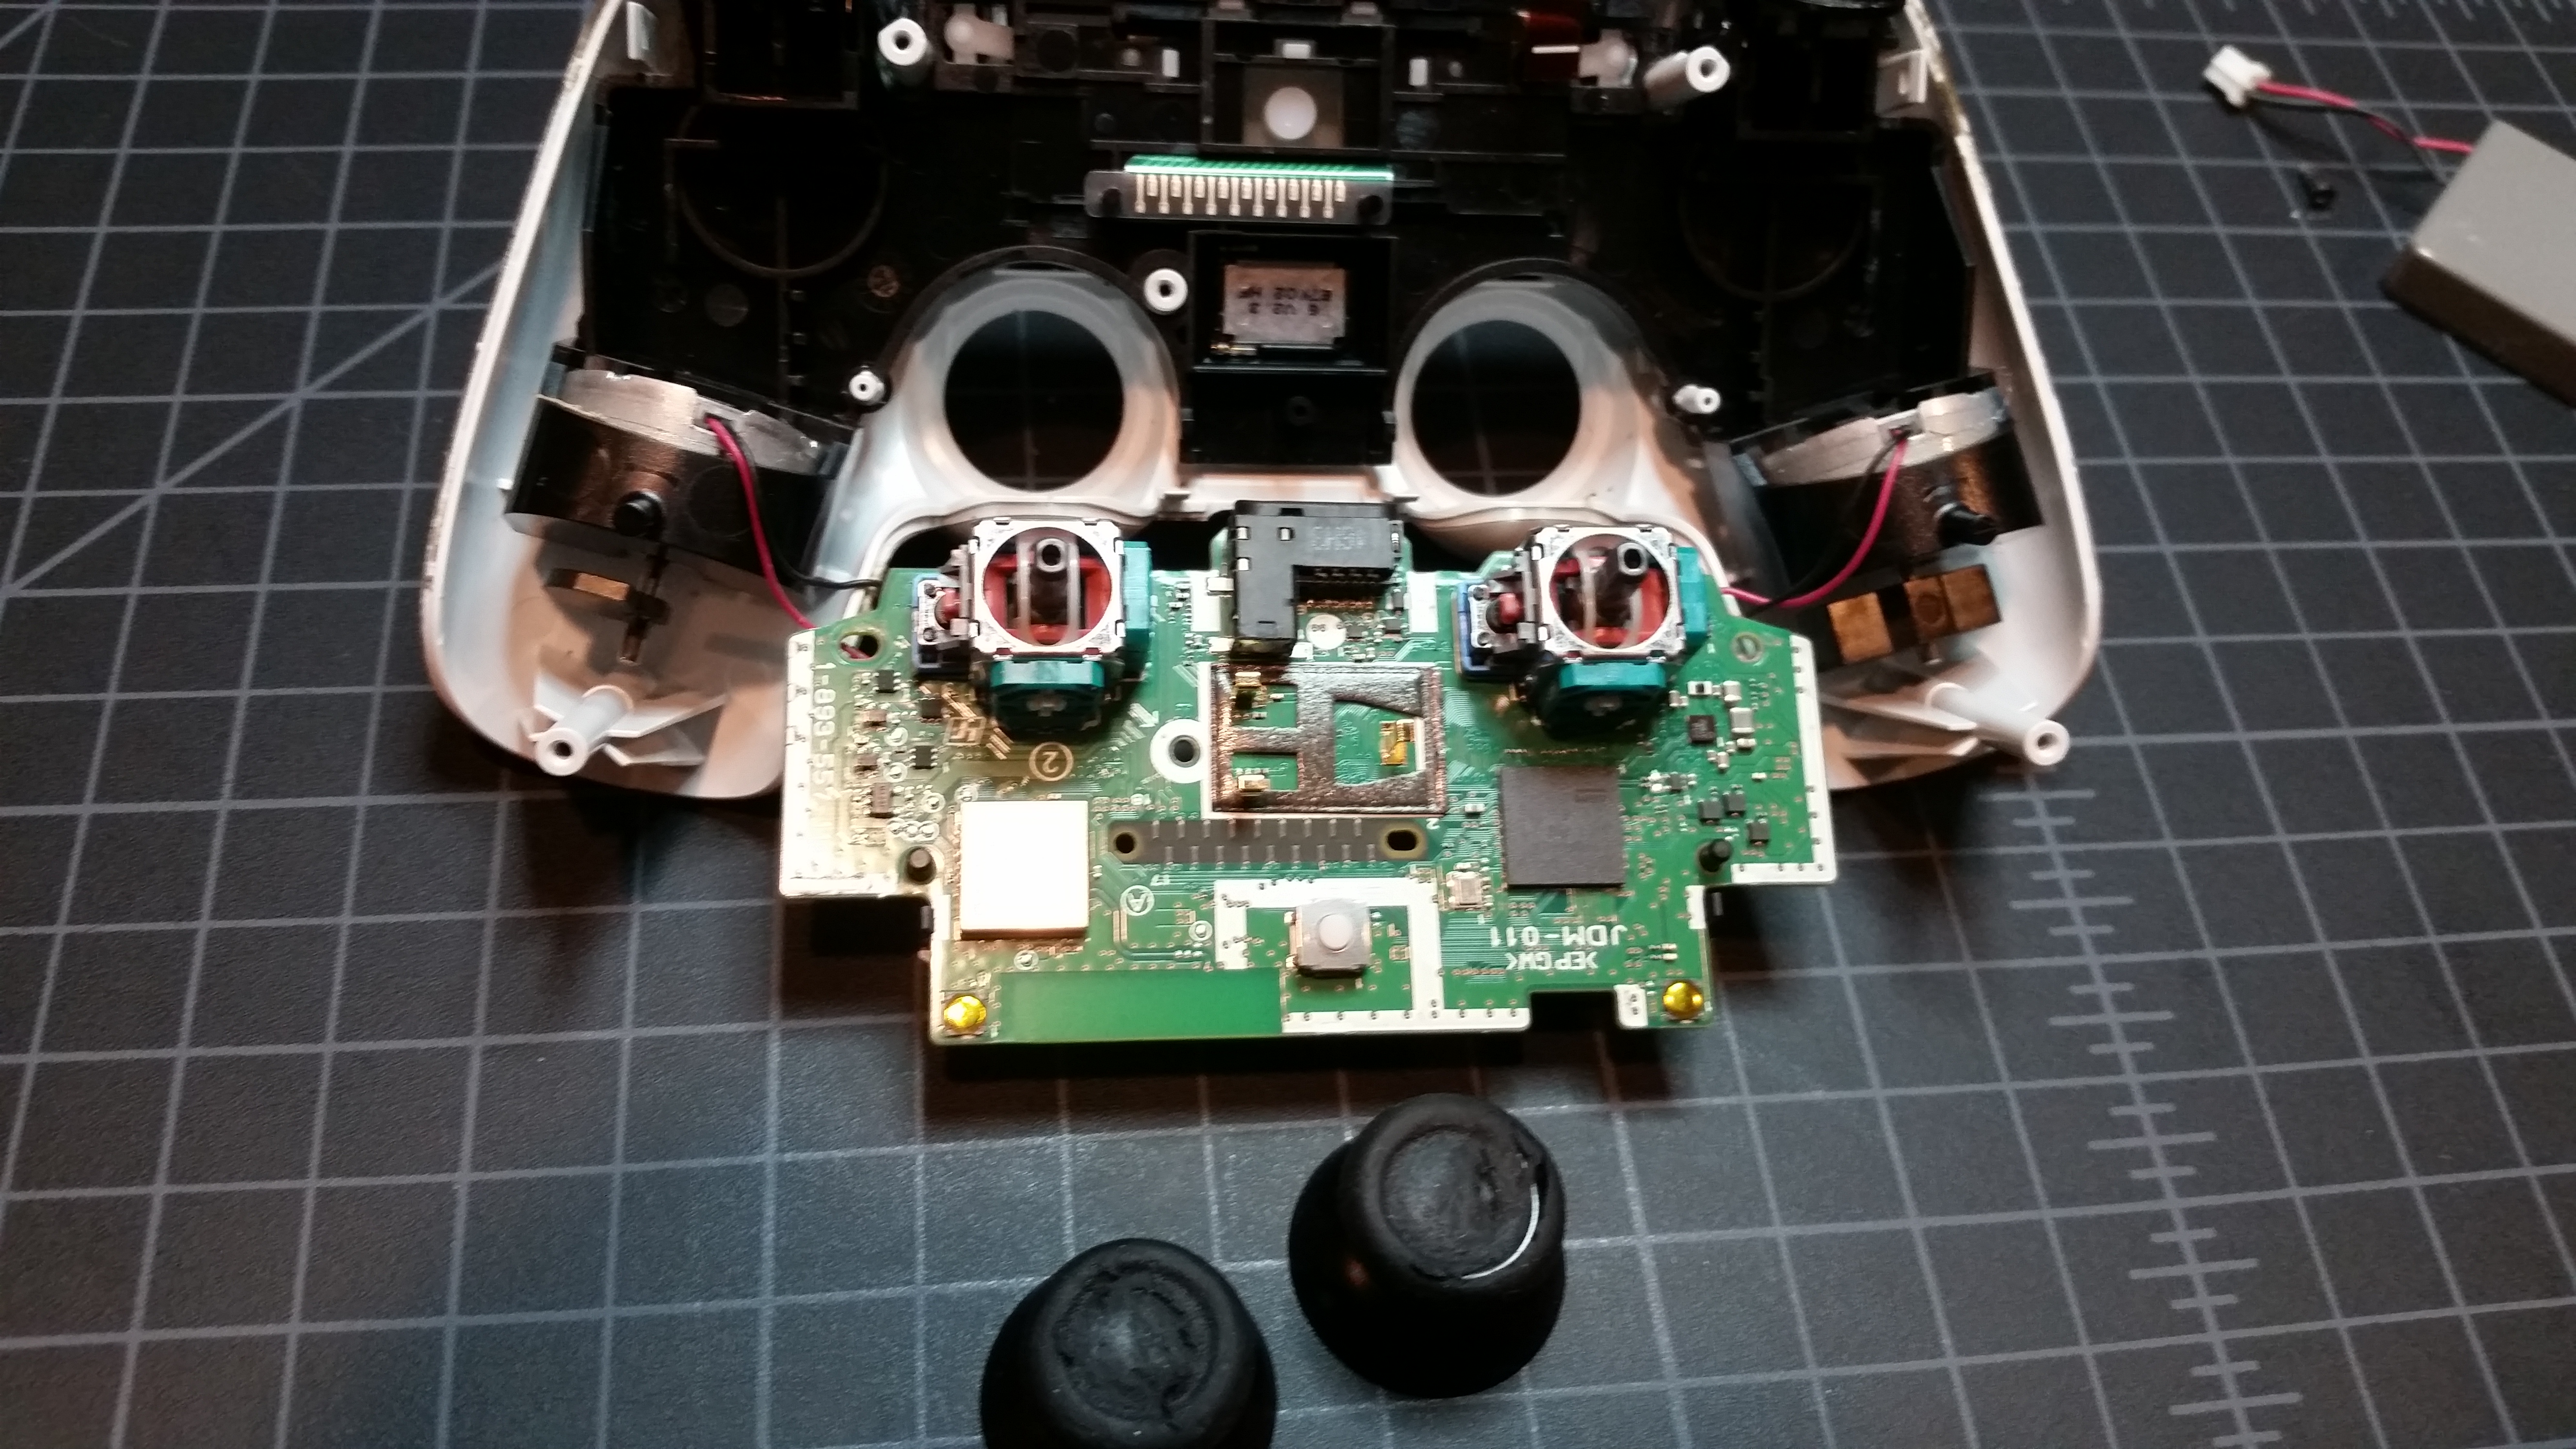
Press your new thumbsticks down onto the connectors. See how the post has two flat sides? Your replacement sticks should have at least one flat side, and that will inform you about how to orient them. It shouldn’t take much force to push the replacement thumbsticks onto the posts.

Flop the board back over and insert the thumbsticks through the holes, then secure the board to the body with that one center screw. We need to reattach the ribbon cable at the top, which runs to the touchpad. I find it best to grip the tab firmly with needle-nose pliers or good, broad tweezers, and push it into the connector. It should not take much force to connect it properly as long as it’s lined up and you’re pushing it straight in. If it gets lopsided, STOP, remove the cable, and try again. This is what it should look like when correctly installed:

With everything more or less stable, this is a great time to take a toothbrush to the edges and seams of your controller, since they’ll never be easier to clean than they are right now. This controller is filthy, but since I have to do six of them, I’m leaving the cleaning for my lackeys to do later. It’s good to be the king.
Plug the battery back in (it’ll only go one way) and re-place the battery in the tray. If during any of the preceding steps, a little round rubber plug fell out, you’ll need to replace it near the upper-right corner of the battery. Just below the “RESET” text. The plug has little wings which will help you align it correctly. The five black controllers I did previously had this round plug, but this white controller has an equivalent plastic piece attached to the battery housing. They look similar, though, so here you go:

Now we need to connect the ribbon cable from the bottom half of the body to the connector on the top half. You’ll probably have to do some gymnastics and feel pretty silly trying to find the right angles for everything that will allow you to plug the cable in, but you should be able to do it with just your fingers, like so:

Here’s what it should look like properly installed. Again, you want it to go STRAIGHT in. Don’t try to push harder if it’s lopsided.

Maneuver the bottom half of the controller so that the triggers poke through it, like so:

In this poorly-focused picture, you can see that the posts on either side barely block you from putting it back together. Bend them in just a hair and the whole assembly should come together with a very satisfying click.

If the battery had any charge to it, your controller just had parts of itself amputated and reattached and is very confused. Use a paperclip to press the reset switch, which is through the hole I’m indicating here:

Replace the four screws in the back, and you’re done!
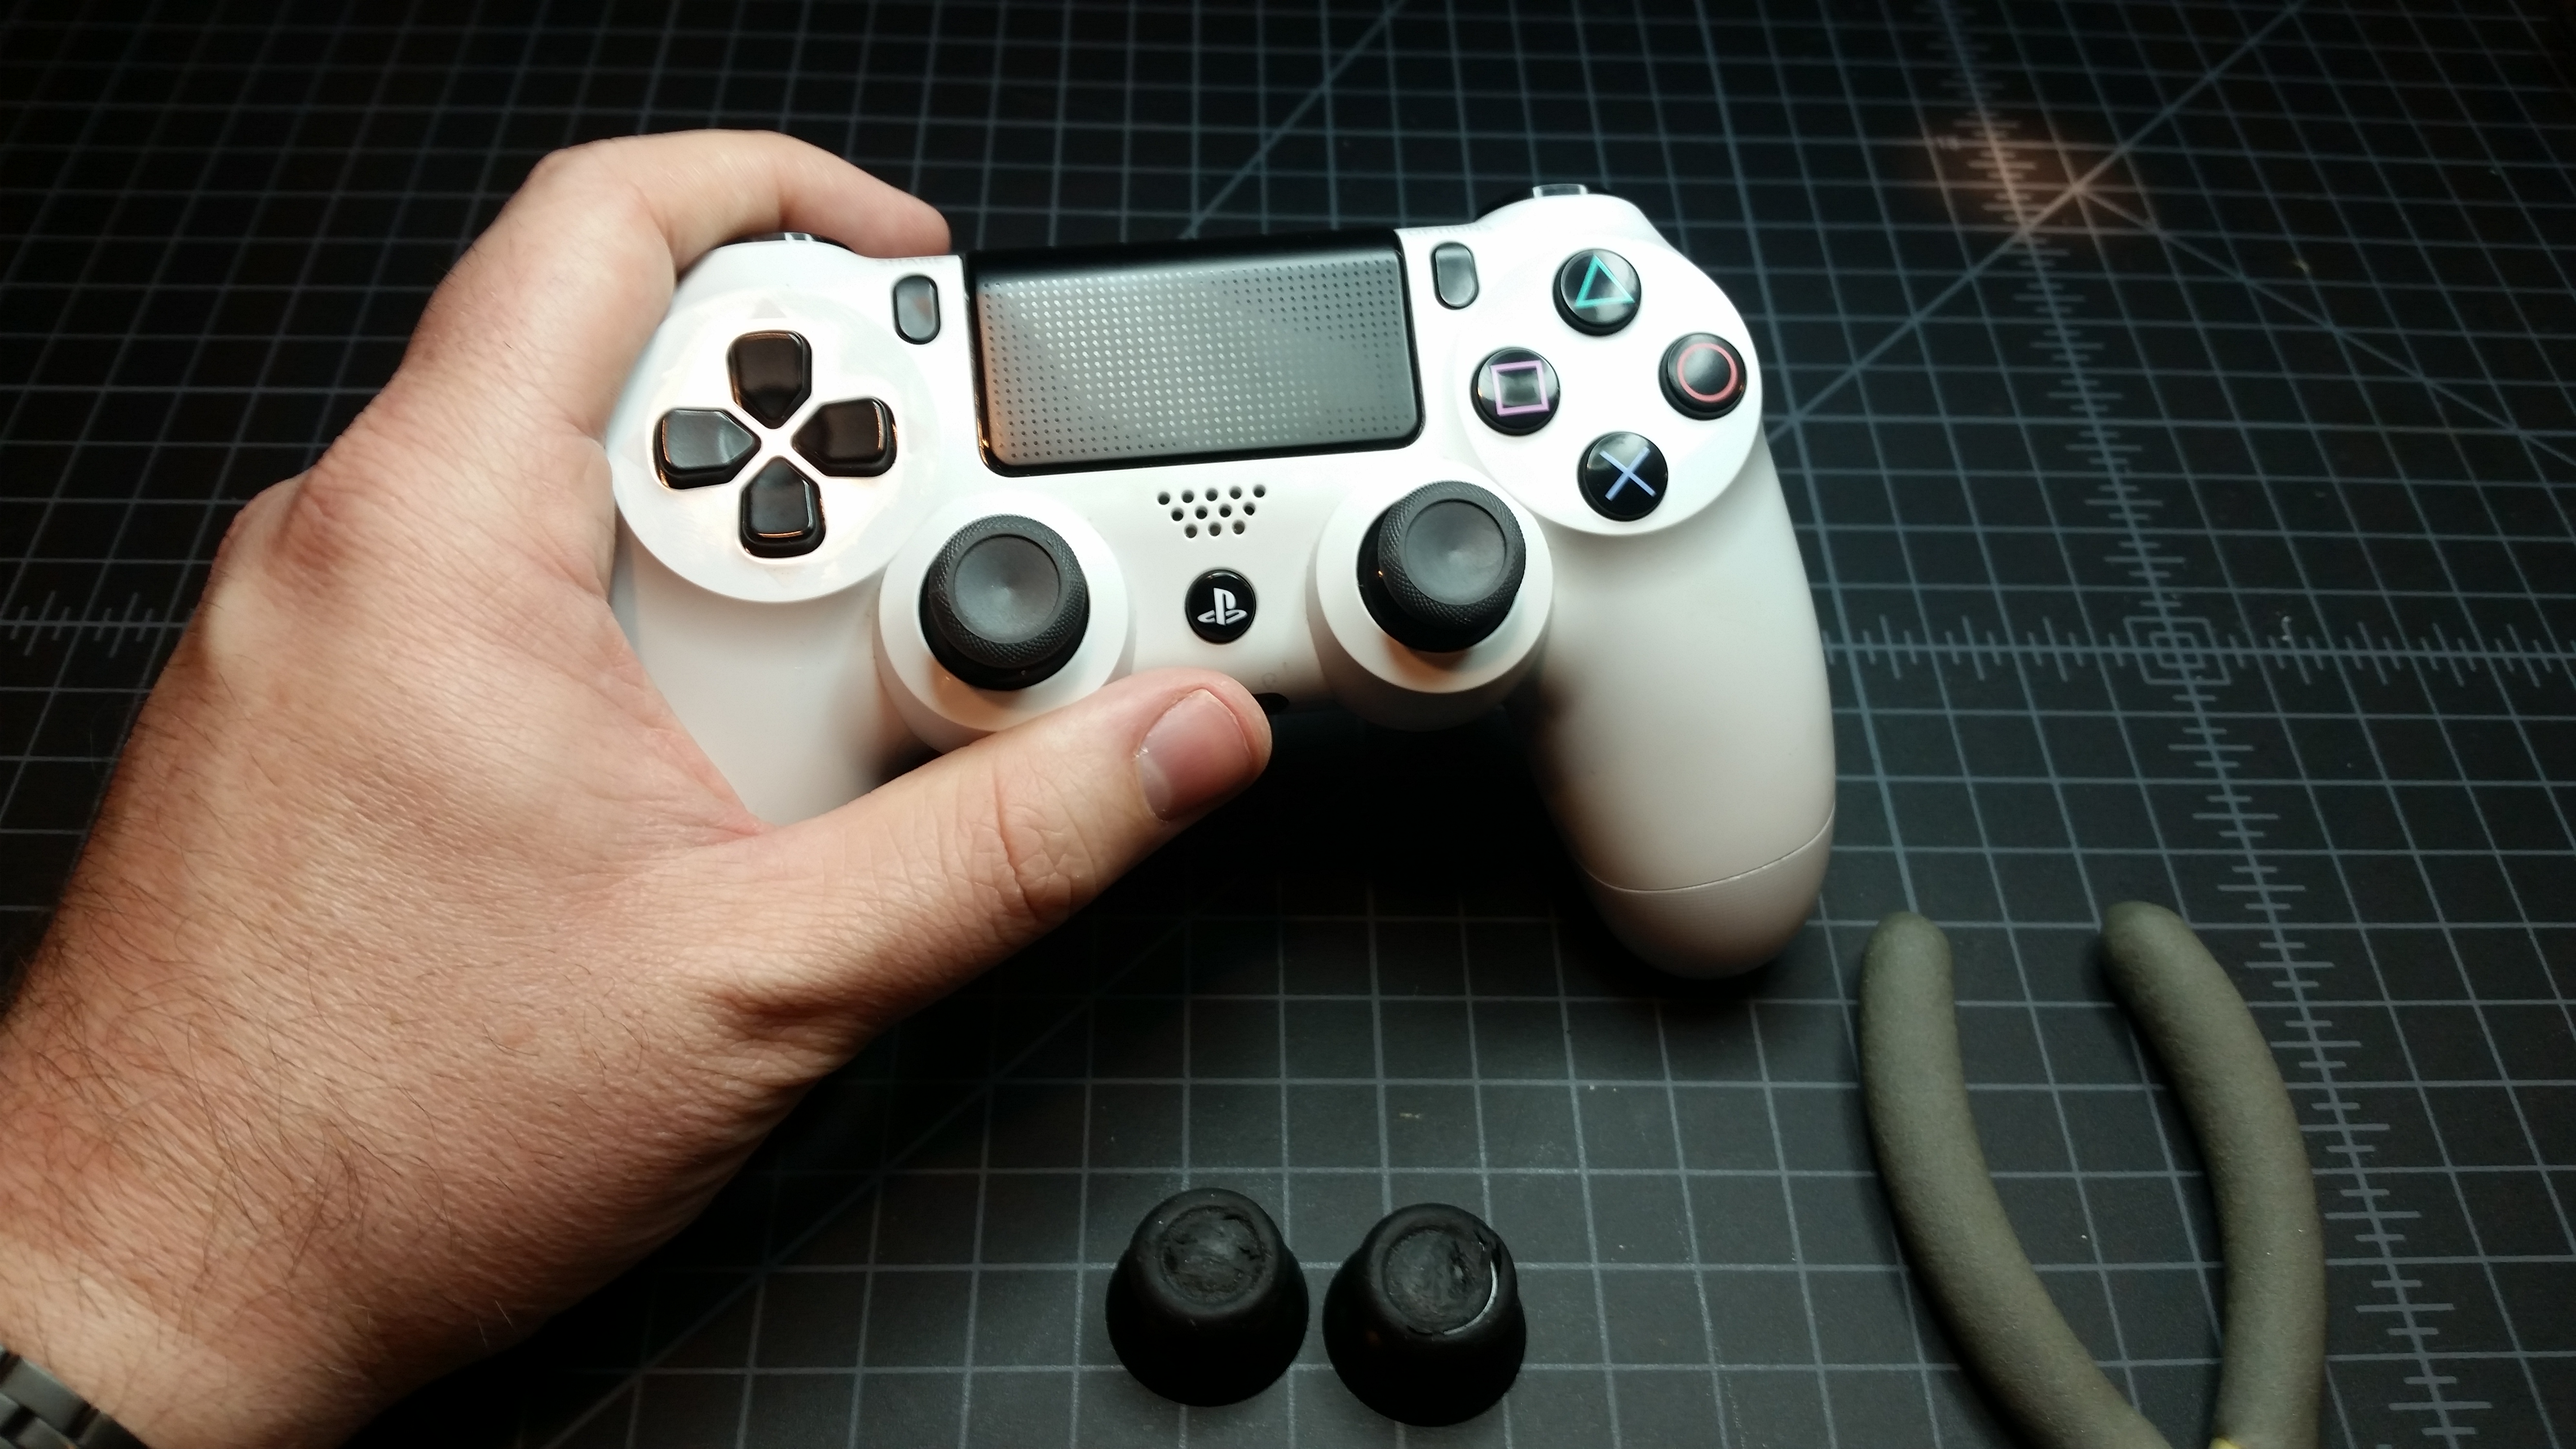
Put the old thumbsticks in the trash, where they should have gone during the DualShock 4’s R&D phase.
