Disclaimer: I have no formal training and make no claim to being good at any of this. Constructive feedback and suggestions are welcomed. I’m figuring this stuff out as I go.

A common failure of SNES consoles is the barrel plug for power. The barrel part snaps off when stressed, leaving the system inoperable. It’s certainly possible to tack onto the two pins without the connector and have it work, but that’s no good when you want to sell it. I can’t remember whether we bought this system as-is for pennies on the dollar, or bought it at normal value and then realized our mistake. Either way, the value of a working system is about $75, and the value of a non-working system in a retail environment is approximately zero.

Luckily, replacement power plug assemblies are available on eBay for about $12. I used the search term “SNES power repair”. You could get the cost down to eight bucks if you’re willing to buy ten at a time. Now that I’ve done one I might grab the bundle and keep them in the repairs cabinet.
You’ll need the security bit to remove the special screws on the bottom. Search “NES security bit” to find the set of one 3.8mm and one 4.5mm bit for under $6 shipped. If you also grab the “nintendo tri-wing screwdriver” you’ll have pretty much everything you need to get into every Nintendo case and device. All six of the external security screws are the same, so just keep them all together. I really like magnetic mats and cafeteria trays for this sort of thing.

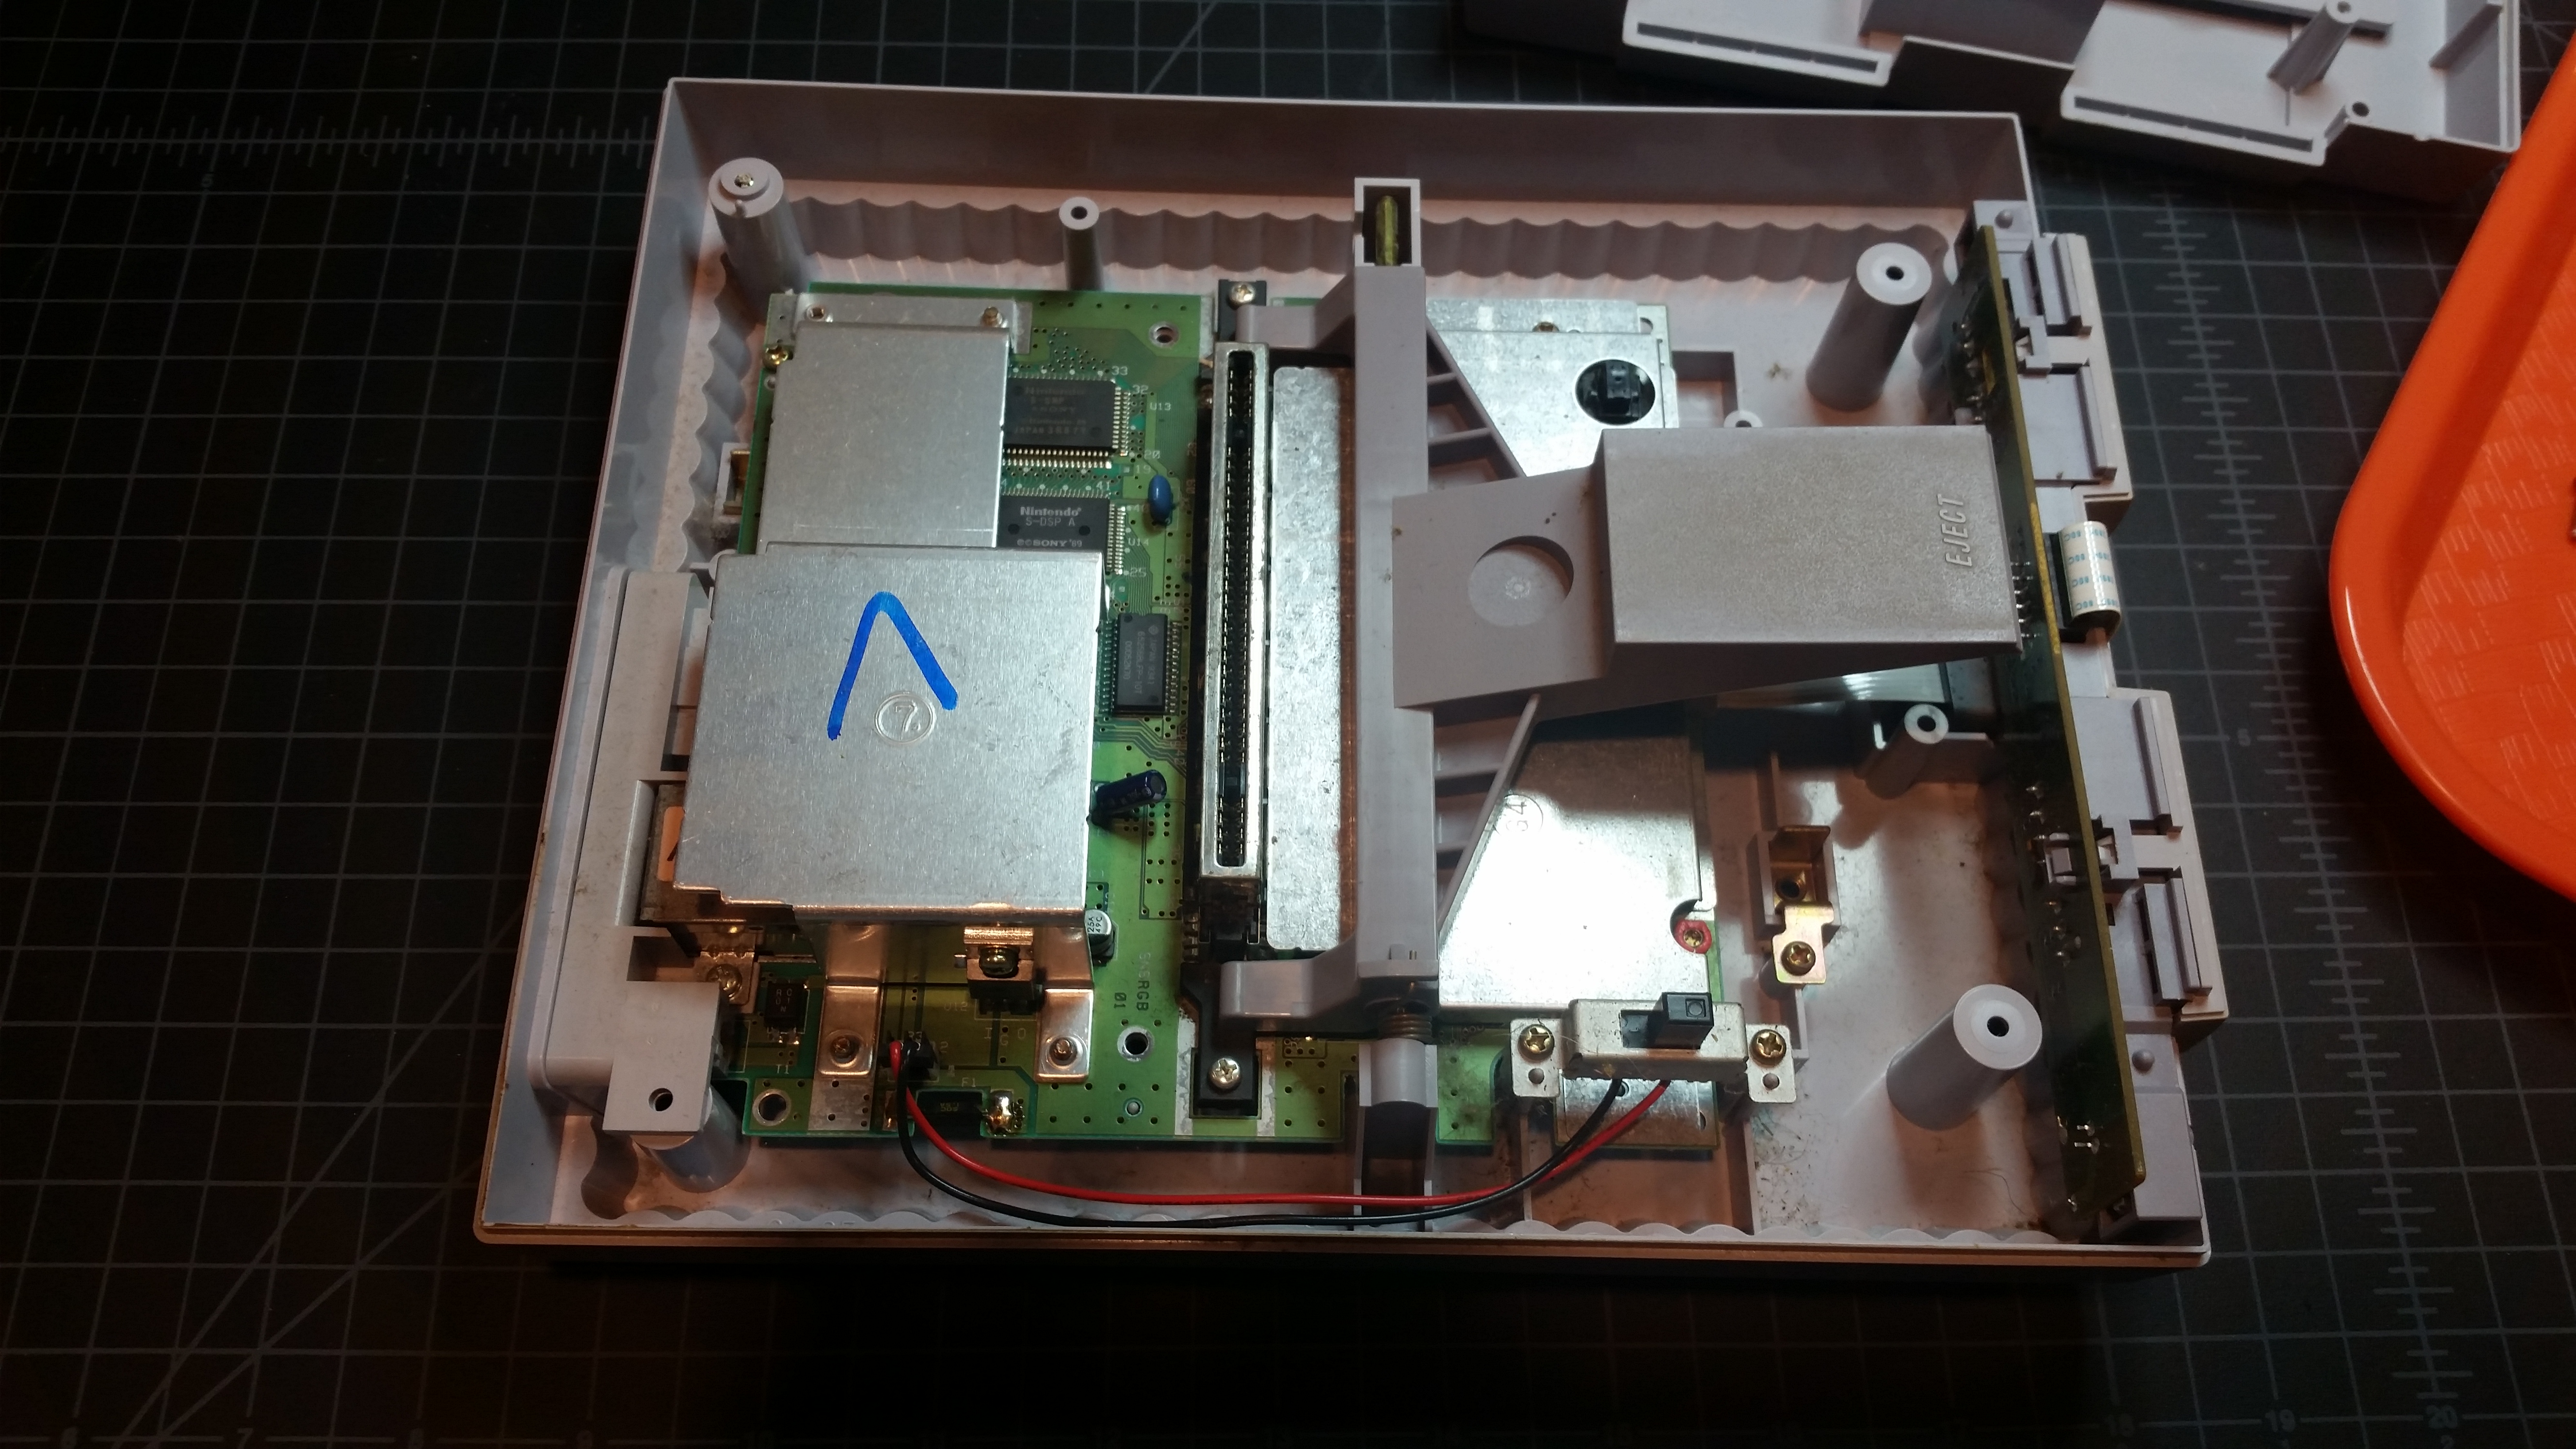
Sadly, you have to completely remove the main board from the system in order to access an upside-down screw holding the power jack assembly in place. Just make sure you lay out the screws in the order in which you found them on the board, and you should have no problems. There are three types, so compare by length and color.

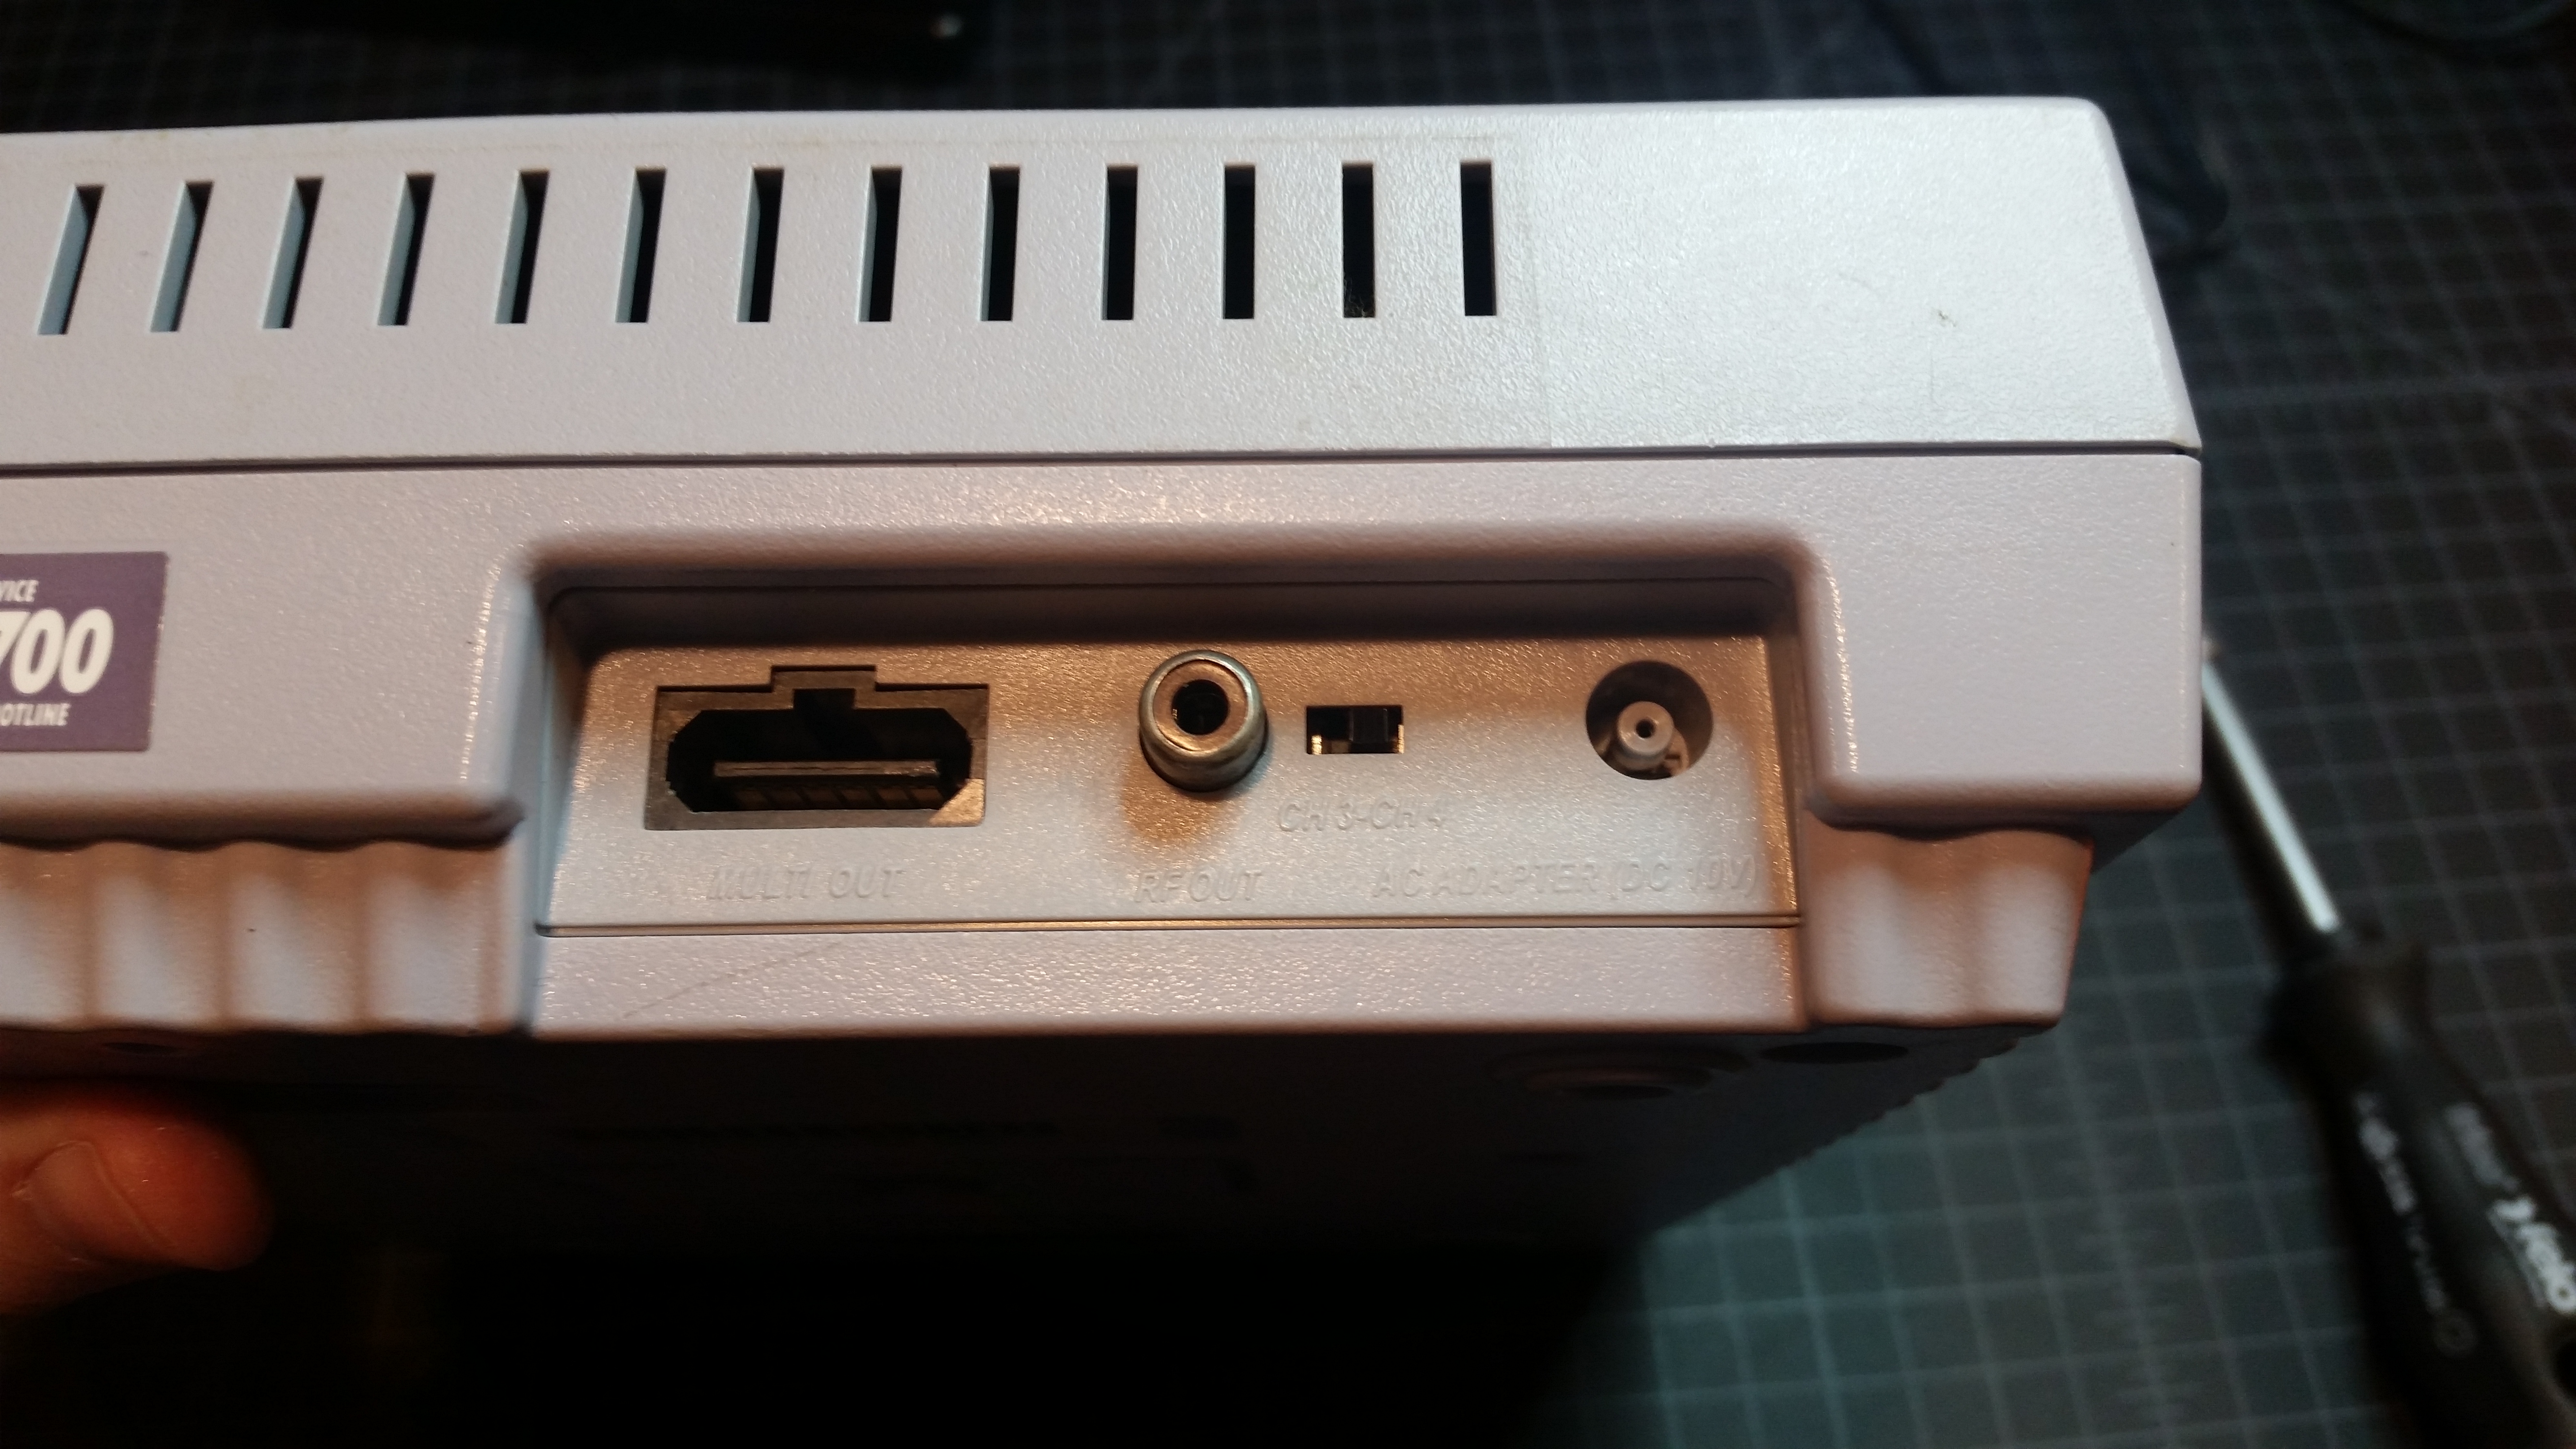
Here’s that upside-down screw that we’ll need to remove. Desolder the legs to the power jack, working it out at an angle. Be careful about the RF Out jack. You have a little bit of wiggle room, but not much. If you break the RF jack off the board you’ll have to re-solder it, which is annoying. If you break it off and don’t want to mess with it, the system will work fine without it, but you won’t be able to use the (inferior) RF adapter, and will only be able to use the (superior) AV cable. Since we’re reselling this particular console, we want it to be right.
The solder used in these systems has a very high melting point. I had to crank my cheap Weller station all the way up to make it flow. If you’ve got a cheap non-adjustable iron, you may not be able to get this done.

Use desoldering braid to remove the old solder and clear the way for your new connector. Again, high temperature is required.

Carefully work the new part back in at that funny angle, re-attach the silver screw, and make happy little Hershey’s Kiss shapes with your solder on the legs. Now’s a great time to clean up the flux around the solder pads, as well.
A tip for the eject button lever: The little spring wire is asymmetrical, and there’s a correct orientation to line it up with the bottom hole. The top part of it slides into a divot instead of forcing you to play games with pliers to make it fit, which I think is thoughtful.
Before you put the screws back in, take this opportunity to give the case a good scrubbing. There’s lots of seams and moving parts, and they’ll never be as easy to clean as they are right now.

Success! Embarrassingly, I don’t have any SNES games in my house with which to do a final test. I don’t expect any problems, though, and will remind my lackeys to test the system before cleaning it up and packaging it for resale, just in case.